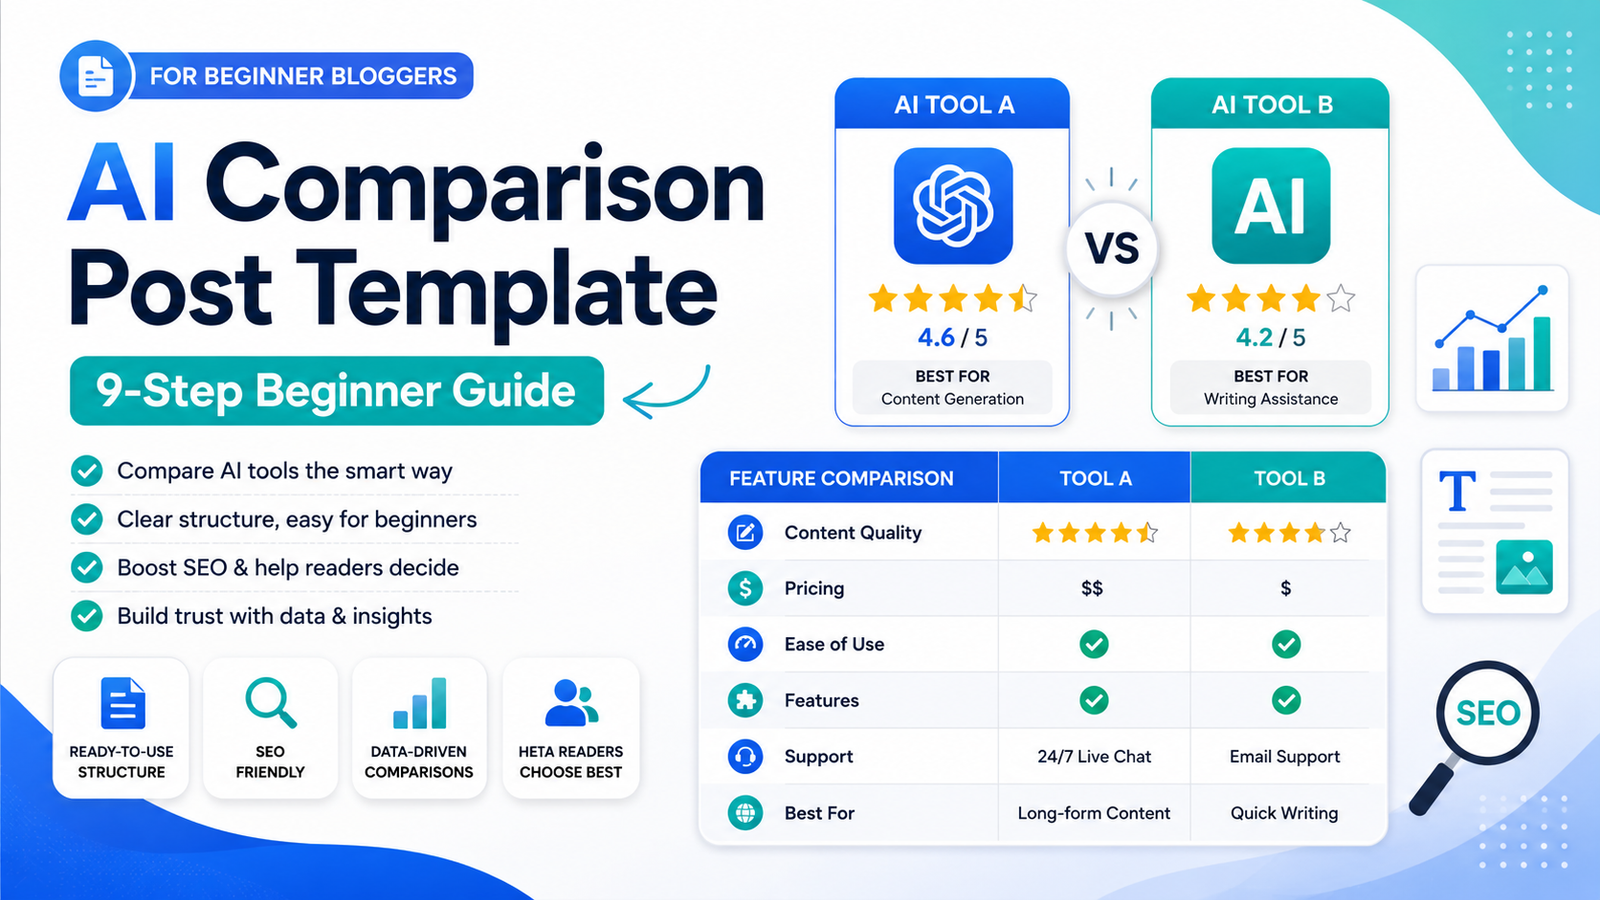
This AI comparison post template helps beginner AI affiliate bloggers structure AI tool comparison articles with side-by-side tables, pricing notes, pros and cons, affiliate CTAs, internal links, and a clear final recommendation.
Most beginner comparison posts fail because they only say one tool is “better” without explaining why. A stronger comparison post helps the reader understand who each tool is for, what the key differences are, how pricing compares, which features matter, and what they should choose next.
I am building an AI affiliate blog from zero and documenting the process. This site is not just an AI tool review site. It is a beginner AI affiliate blogging lab that helps beginners write structured AI tool reviews, pricing guides, alternatives posts, and comparison articles.
The goal of this guide is simple: help you write better AI comparison posts without starting from a blank page.
Quick Answer: A good AI comparison post template should compare two tools clearly by use case, pricing, features, strengths, weaknesses, beginner fit, best-fit users, affiliate CTA placement, internal links, and final recommendation.
What Is an AI Comparison Post Template?
An AI comparison post template is a repeatable structure for writing articles like “Jasper AI vs Copy AI,” “Copy AI vs Writesonic,” or “ChatGPT vs Claude for Blogging.”
Instead of writing a random opinion about two tools, the template helps you answer the reader’s real question:
“Which tool is better for my situation?”
A strong AI comparison post template helps you decide:
- How to introduce both tools
- How to explain who each tool is for
- How to compare core features
- How to compare pricing and value
- How to create a side-by-side comparison table
- How to explain pros and cons
- How to recommend the best tool by use case
- Where to place affiliate CTAs
- Where to add internal links
- How to end with a clear final verdict
This matters because comparison keywords often attract readers who are close to making a decision. They are not only researching a tool. They are choosing between options.
Why Comparison Posts Matter for AI Affiliate Blogs
Comparison posts are valuable for AI affiliate blogs because they help readers choose between two specific tools.
Someone searching for an AI tool comparison usually wants direct answers to questions like:
- Which tool is better for beginners?
- Which tool is better for bloggers?
- Which tool is cheaper?
- Which tool has better features?
- Which tool is easier to use?
- Which tool should I choose for my workflow?
This makes comparison posts useful for both readers and affiliate content strategy.
For example, if a reader compares two AI writing tools, they may already be close to trying one of them. Your job is not to push the reader blindly. Your job is to help them make a clearer decision.
That is why a comparison post should include more than a quick opinion. It should compare features, pricing, best-fit users, strengths, weaknesses, and next steps.
How Comparison Posts Are Different From Reviews, Pricing Guides, and Alternatives Posts
A comparison post is not the same as a review, pricing guide, or alternatives article.
Each content type has a different job inside an AI affiliate blog.
| Content Type | Main Search Intent | Main Goal |
|---|---|---|
| AI Tool Review | Is this tool good? | Explain whether one tool is worth using overall |
| AI Pricing Guide | How much does this tool cost? | Explain plans, value, and best-fit users |
| AI Alternatives Article | What should I use instead? | Compare multiple replacement options |
| AI Comparison Post | Which of these two tools is better? | Compare two tools directly and recommend the best fit |
If you want the full review structure, read the AI Tool Review Template.
If you want to write pricing posts, read the AI Pricing Guide Template.
If you want to write alternatives posts, read the AI Alternatives Article Template.
AI Comparison Post Template at a Glance
This AI comparison post template is designed to make comparison articles easier to write, easier to scan, and easier to connect with the rest of your AI affiliate blog content system.
| Section | Purpose | What to Include |
|---|---|---|
| Introduction | Set the comparison intent | The two tools, reader problem, and what the article will compare |
| Quick Answer | Help readers fast | Best overall, best for beginners, best for teams, best budget option |
| Tool Overview | Explain both tools | What each tool does and who it is for |
| Feature Comparison | Compare functionality | Writing, SEO, automation, templates, integrations, workflow fit |
| Pricing Comparison | Compare cost and value | Free plans, paid plans, beginner fit, value for use case |
| Side-by-Side Table | Make the article scannable | Tool A vs Tool B across the most important decision factors |
| Pros and Cons | Build trust | Strengths and weaknesses of both tools |
| Final Recommendation | Guide the decision | Best tool by use case and next step for the reader |
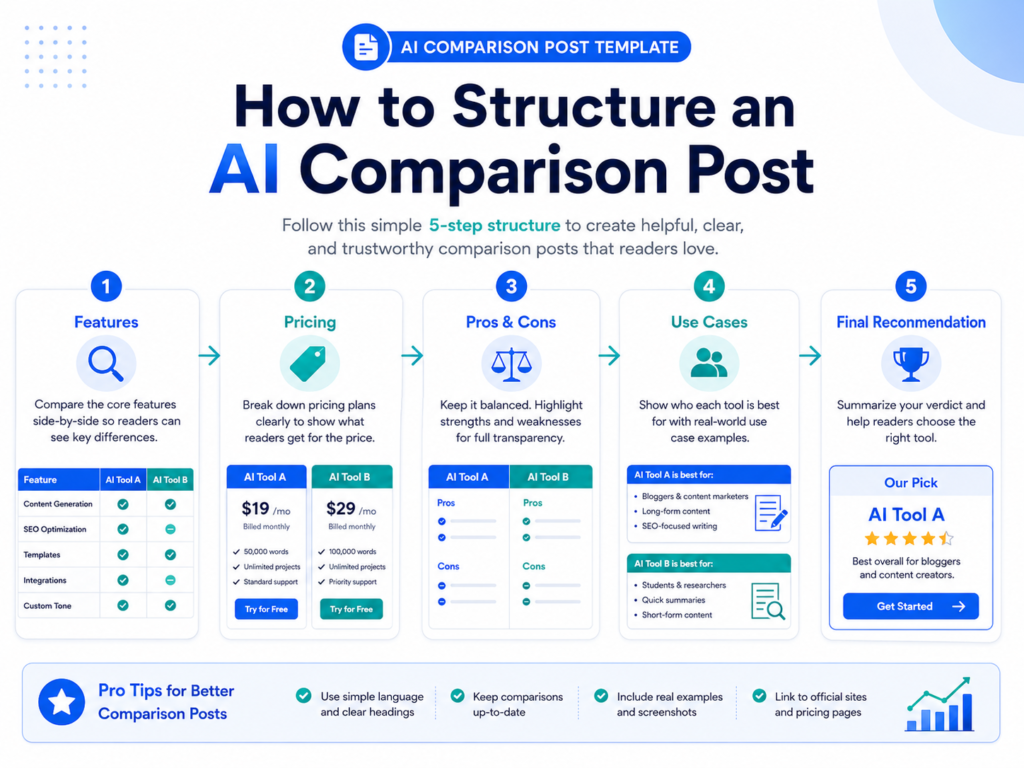
Step 1 — Choose Two Tools With Clear Search Intent
The first step is choosing two tools that people actually compare.
A comparison post works best when the reader already knows both tools or is deciding between them.
Good comparison keywords usually look like this:
- Tool A vs Tool B
- Tool A compared to Tool B
- Tool A or Tool B
- Best choice between Tool A and Tool B
For example, a reader searching for “Jasper AI vs Copy AI” probably wants a direct decision guide, not a general list of AI writing tools.
The article should stay focused on the two tools instead of drifting into too many alternatives.
Step 2 — Explain Who Each Tool Is For
Before comparing features, explain who each tool is designed for.
This helps the reader understand why one tool may be better for their situation.
You can structure this section like this:
- Tool A is best for: [bloggers, teams, marketers, SEO writers, beginners, agencies]
- Tool B is best for: [solo creators, budget users, social content, email writers, small businesses]
This section is important because the “best” tool depends on the reader’s use case.
Example:
Tool A may be better for teams that need advanced workflows, while Tool B may be better for beginners who want a simpler and cheaper way to create AI-assisted content.
Step 3 — Compare Core Features
After explaining who each tool is for, compare the core features.
Do not list every feature. Focus on the features that matter for the reader’s decision.
For AI writing tools, useful feature categories may include:
- Blog post drafting
- Content templates
- SEO support
- Brand voice
- Team collaboration
- Integrations
- Ease of use
- Workflow speed
The goal is not to make the article longer. The goal is to make the decision clearer.
Step 4 — Compare Pricing and Value
Pricing is one of the most important parts of an AI comparison post.
Readers want to know which tool gives better value for their situation.
Useful pricing questions include:
- Which tool has a free plan?
- Which tool is cheaper for beginners?
- Which tool is better for teams?
- Which paid plan offers better value?
- Which tool should users avoid paying for too early?
For pricing examples, you can read:
If you want to write pricing content yourself, use the AI Pricing Guide Template.
Step 5 — Add a Side-by-Side Comparison Table
A side-by-side table makes comparison posts easier to scan.
Readers should be able to understand the main differences quickly.
| Category | Tool A | Tool B | Better Fit |
|---|---|---|---|
| Best For | Teams and advanced users | Beginners and solo creators | Depends on use case |
| Ease of Use | More advanced | Simpler setup | Tool B for beginners |
| Pricing | May cost more | May be more affordable | Tool B for budget users |
| Content Workflows | Good for complex workflows | Good for simple content tasks | Depends on publishing volume |
| Final Pick | Best for power users | Best for beginners | Choose based on workflow |
This table structure can be reused for AI writing tools, SEO tools, automation tools, and other software comparisons.
Step 6 — Explain Pros and Cons
A strong comparison post should explain the pros and cons of both tools.
This helps the article feel more balanced and useful.
| Tool | Pros | Cons |
|---|---|---|
| Tool A | More advanced features, stronger workflows, better for teams | May be expensive or too complex for beginners |
| Tool B | Easier to use, simpler setup, better for solo users | May have fewer advanced features |
Do not make every tool sound perfect. Readers trust comparison articles more when you explain trade-offs honestly.
Step 7 — Recommend the Best Tool by Use Case
The final recommendation should not be vague.
Instead of saying “both tools are good,” explain which tool fits which reader.
You can structure the recommendation like this:
- Choose Tool A if: you need advanced features, team workflows, or more control.
- Choose Tool B if: you want a simpler, cheaper, or more beginner-friendly option.
- Start with the free plan if: you are still testing your content workflow.
- Avoid the expensive plan if: you do not have enough publishing volume yet.
This approach is more useful than forcing one winner for every reader.
Step 8 — Add Affiliate CTAs Naturally
Affiliate CTAs can work well in comparison posts because readers are already evaluating options.
But the CTA should match the recommendation.
A weak CTA sounds like this:
Buy this tool now because it is better.
A stronger CTA sounds like this:
Best for beginners: If you are still testing your AI content workflow, start with the simpler plan or free trial before upgrading to a paid plan.
The stronger CTA gives context. It helps the reader make a decision instead of pushing a random sale.
Step 9 — Add Internal Links and Next Steps
Internal links are important because a comparison post should connect to the rest of your AI affiliate blog system.
A comparison post can link to:
- A full AI tool review
- A pricing guide
- An alternatives article
- A best tools list
- A template or checklist page
For example, an AI comparison post can connect to:
- AI Tool Review Template
- AI Pricing Guide Template
- AI Alternatives Article Template
- Jasper AI Alternatives
- How I’m Building an AI Affiliate Blog From Zero
This turns one article into part of a larger beginner AI affiliate blogging system.
Free AI Blog SEO Checklist
If you are writing AI comparison posts, do not only compare two tools quickly and stop there.
Your post also needs a clear keyword, search intent, comparison structure, useful internal links, affiliate CTA placement, lead magnet CTA placement, and a next step for the reader.
Free AI Blog SEO Checklist
The Free AI Blog SEO Checklist helps you check your post before publishing. Use it to review your keyword, structure, internal links, affiliate CTA placement, lead magnet CTA placement, and basic SEO setup.
Want the Full AI Blog Starter Kit?
The Free AI Blog SEO Checklist helps you check your post before publishing.
The AI Blog Starter Kit helps you actually write and structure the post from the beginning.
It includes beginner-friendly templates for:
- AI tool reviews
- AI pricing guides
- AI alternatives articles
- AI comparison posts
- Affiliate CTA sections
- Internal linking
- Lead magnet CTA placement
- Beginner-friendly blog post structure
Want the templates instead of starting from a blank page?
The AI Blog Starter Kit gives you simple templates for writing AI tool reviews, pricing guides, alternatives posts, and comparison articles from the beginning.
Related AI Blogging Guides
- Free AI Blog SEO Checklist
- AI Tool Review Template
- AI Pricing Guide Template
- AI Alternatives Article Template
- How I’m Building an AI Affiliate Blog From Zero
- Jasper AI Alternatives
- Copy AI Pricing
- Writesonic Pricing
Final Verdict
If you are a beginner AI affiliate blogger, use an AI comparison post template before writing tool-vs-tool articles. Do not only say which tool is better without explaining why.
A strong AI comparison post should explain who each tool is for, how the features compare, how pricing differs, what the pros and cons are, and which tool fits each use case.
This AI comparison post template gives you a repeatable starting point for writing clearer, more useful AI tool comparison articles for your affiliate blog.
Start with a checklist if you already have a draft. Use a full template if you want help writing the post from the beginning.